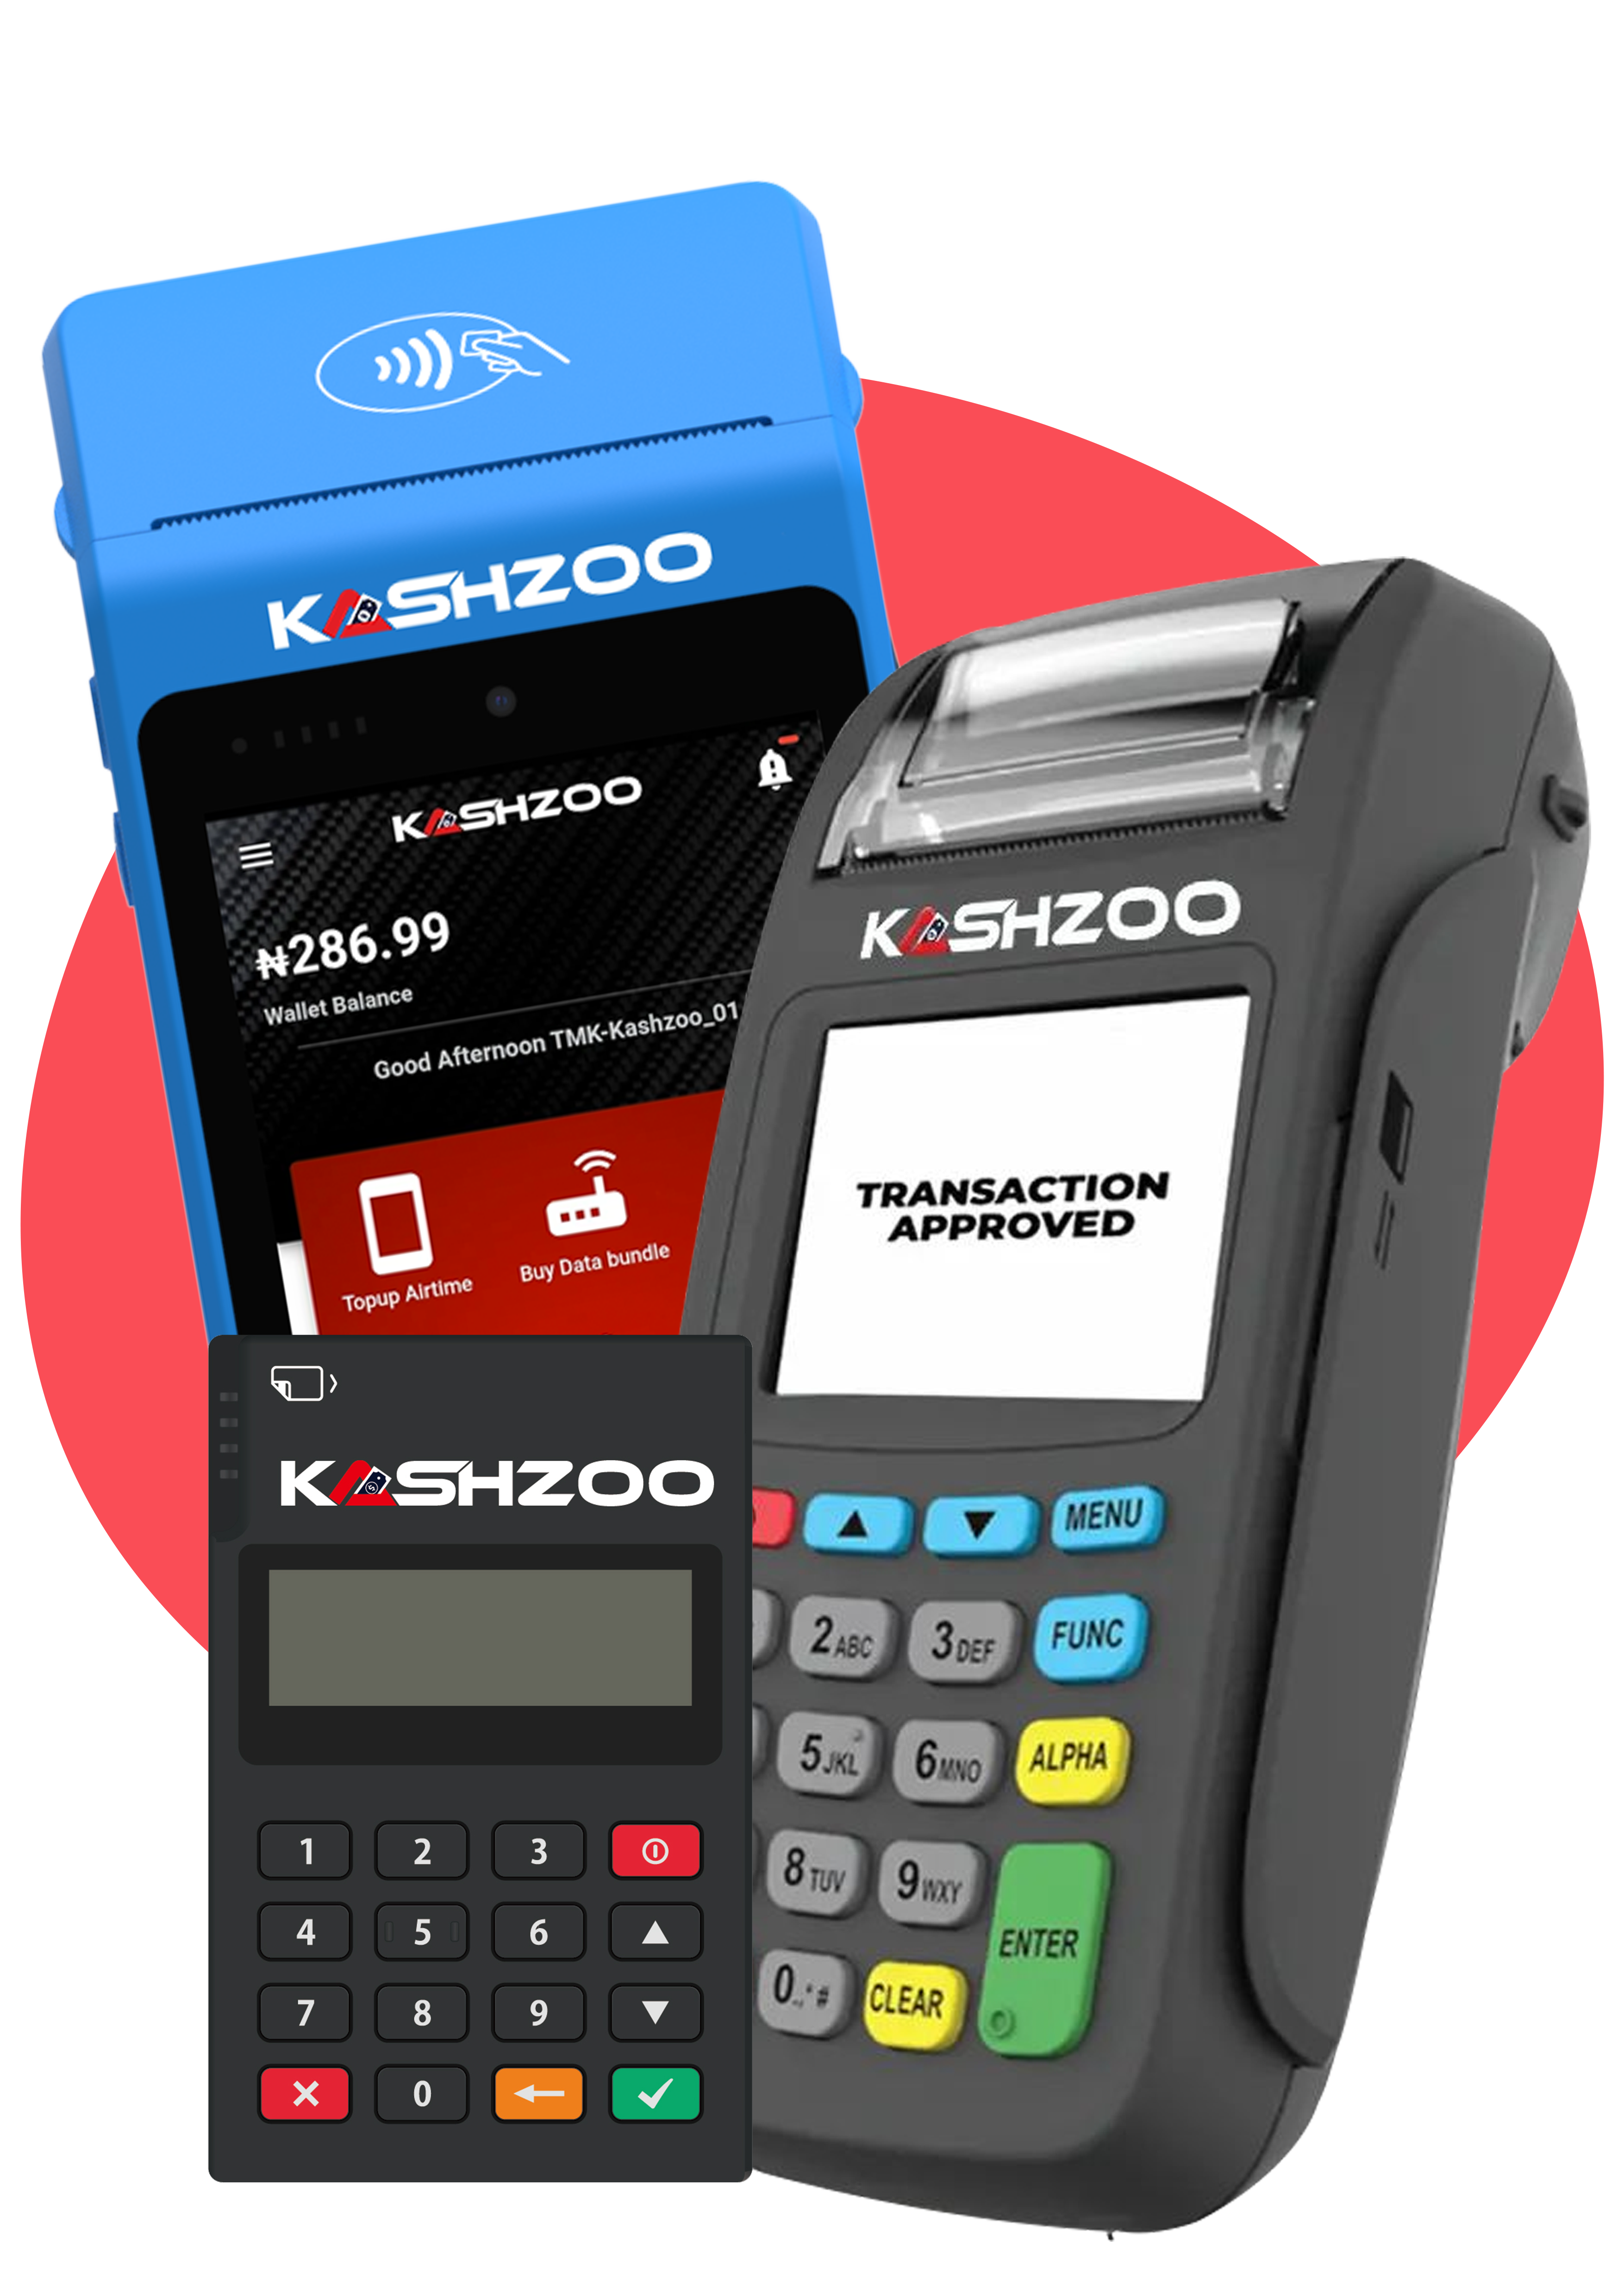
If you have just received your mobile point of sale for the smooth running of your businesses and are having difficulty setting it up, then you are reading the right post. Below are easy steps to guide you in setting up your Kashzoo mPOS. However, you can also follow these steps to set up similar mPOS.
Step1-Prepare Your Phone
– Turn on your phone’s location and Bluetooth settings.
Step2-Pairing the mPOS Terminal
– Open your phone’s Bluetooth settings and search for available devices.
– Select the mPOS terminal from the list of available devices to pair it with your phone.
– If prompted, enter any necessary PIN or confirm the pairing process on both devices.
Step3-Login to the Kashzoo App
– Launch the Kashzoo app on your phone.
– Log in using your credentials.
Step4–Navigate to Settings
– Click on the menu icon on the app’s interface.
– Select “Settings” from the menu options.
Step5-Sync the Terminal
– Under Settings, locate and click on “Sync Terminal.”
The serial number will appear on the screen. Ensure that the last four digits match the serial number on the terminal’s back.
– If the serial numbers match, click on the displayed serial number and confirm by pressing “OK” on the popup option.
– Once the synchronisation is successful, go to the next step.
Step6-Initiate a Withdrawal Transaction
– Click on “Withdrawal” from the menu options.
– Select “Connect” and wait for the notification to confirm that the connection with the terminal has been established.
Step7-Select Card Type and Input Amount
– Choose the type of card used for the transaction (Savings or Current).
– Type in the desired withdrawal amount. You can enter a small amount, such as 100 or 200, for testing.
After following the steps provided, your mPOS is ready for transactions. If you encounter any errors, contact customer care, and we will address them.


What do you think?
It is nice to know your opinion. Leave a comment.